USA
USA FR
FR

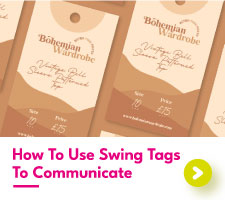


How To Design Your Own Clothing Hang Tag
How To Create Your Own Clothing Label Design
Clothing label designs are so much more than a basic printed clothing size label. They advertise your business, promote your products, and can help to persuade your customers to make their next purchase with you. This might seem like a lot to be achieved with one clothing tag, but you shouldn’t underestimate the power behind a thought-out clothing tag design.
To design your own clothing tags, you need to have a clear idea in mind of the design – of course - but also of the aim of your clothing tags. Diving in without a clear plan will only lead to disappointment, with your tags not helping to achieve your sales goals. Instead, taking things step by step will lead you to the best clothing labels for your company.
Why Are Clothing Brand Labels Key For Your Clothing Company?
Imagine you’re strolling down the aisles of a new clothing shop in search of the next addition to your wardrobe. You round the corner and there it is – the perfect summer dress! Excited, you pick up the dress to see if it’s your size. But what’s this? There are no clothing size labels.
Clothing brand labels are in place to provide your customers with information about the clothes they’re looking to buy. Are the clothes in their price range? Will the clothing fit them? What are the clothing garments made from? Without brand labels for clothing, your customers are missing key details about your clothing and are more likely to leave it behind on the rail.
Not only are brand labels for clothing there to help your customers, but they can also be a beautiful representation of your business. Specific colour themes and premium paper stocks really help to drive home your branding to shoppers, with recognisable designs being more likely to be picked up. Professional clothing size labels let your customers know that care and attention have been put into your brand, which in turn encourages people to shop with you.
How To Design A Clothing Label In 4 Easy Steps
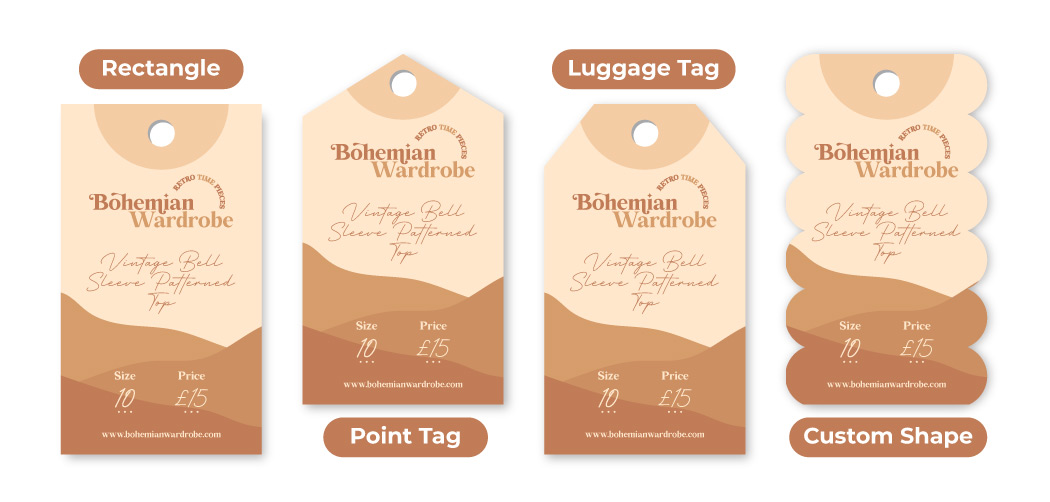
1. Choosing Your Clothing Hang Tag Size First Is A MUST
The first thing you must always do when creating a clothing label design is to decide on the shape and size of your tag. Knowing the amount of space you have available for your design is crucial and will prevent a lot of heartache later down the line.
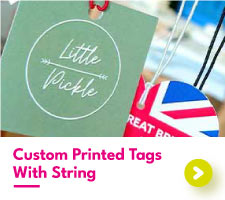
There are no standard size labels for clothing, it’s completely up to you to choose the size. Check out our hang tag range to see our tried and tested clothing brand label size range.
2. Organise Your Text Layout, You’ll Thank Us Later!
With your size chosen, you can start to place down your text. If you find yourself thinking “When I design my own clothing label, what should it say?” you can refer to this handy list for some guidance:
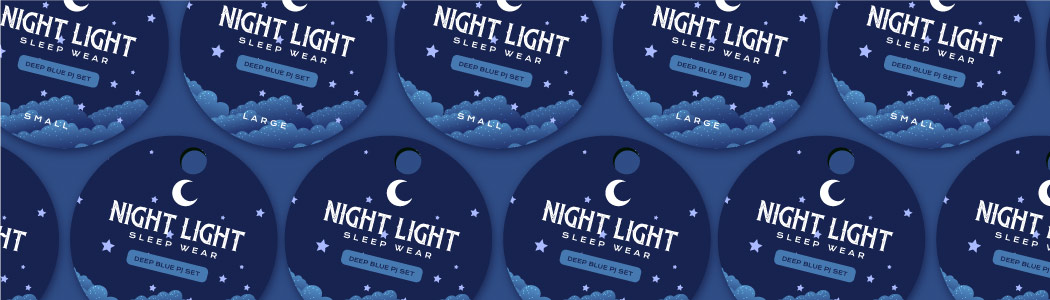
· The size or sizing range of the clothing.
· The price of the clothing.
· The materials that the clothes are made from.
· The clothing care labels wash instructions.
· Your clothing company logo, website, and social media.
You don’t need to stick rigidly to this list. If there’s anything you think that your customers need to know then make sure to include it.
Organise your chosen text on your clothing hang tag design in the order you’d like for it to appear. Then you can go in and adjust the fonts and positioning until you’re completely happy. Placing your text down before the rest of your design will truly help you in the long run.
3. Add Personality To Your Clothing Tag Design
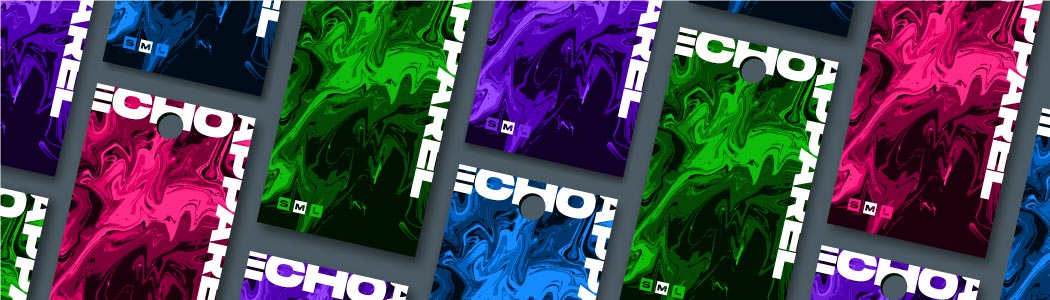
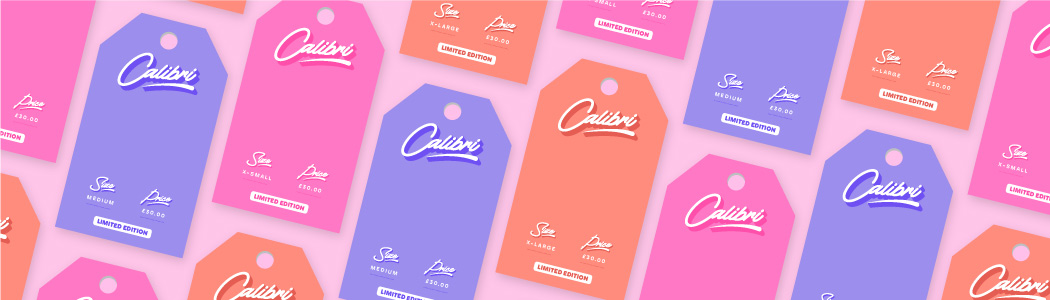
Now comes the fun bit – creating the bulk of your designs! The best clothing labels have designs that complement the clothes and the clothing business. Modern clothing brands will opt for a sleek and minimal approach, whereas bold and colourful brands may go for a playful clothing tag design. The direction you take is your personal choice but it should help to strengthen your branding in some way.
Doing some market research will help you to get an understanding of what your competitors are up to. Have companies like yours chosen to use funky patterns or a more rustic appearance? Do you want to go along with the majority or try something out of the box? Don’t copy your competition, just use them for a little extra inspiration for your clothing tag design ideas.
4. Prepare Your Clothing Label Design For Print
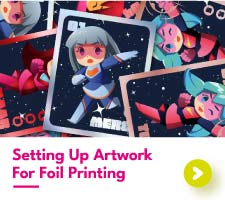
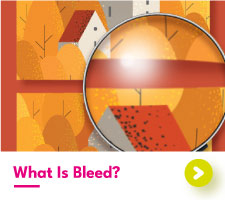
With your clothing brand label design finished, now comes the time to get it printed. To prepare your clothing tag artwork for print, keep these 3 things in mind – bleed, borders, and drill holes. Your brand labels for clothing should have a 2mm bleed area, borders away from the edges, and text away from the drill hole. For more on setting up artwork for print, we have a dedicated post that can be found here.
Clothing Care Labels And Clothing Size Labels – Your Customers Want To Know
Other than the appearance of the garments themselves, the number one thing your customers will be wanting to know is the size of your clothing. After all, we all want clothes that fit.
Sizing details should be easy to find and easy to understand. For example, if your clothing range is a size small to large, will a customer know that a size small is equivalent to a UK size 8? Your customers will be expecting size labels for clothing and if it cannot be found, your clothing may be left discarded on the shelf.
Another thing you should be considering is clothing care labels. Once your customers have bought your clothing, they need to know how to take care of it. The last thing you want to be handling is an upset customer with a freshly shrunken top.
Clothing care labels provide all the necessary cleaning details that your customers will need to know. These details are often found on the back of the clothing hang tag design or sewn into the clothes themselves.
Clothing Label Designs With Aura Print
Getting your clothing tag design ideas printed couldn’t be easier with Aura Print. We have a range of beautiful paper types and unique foil finishes for you to choose from to create professional tags for your clothing business. And, if you're running short on time, our graphic designers can create your clothing brand label design for you! For help and assistance, get in touch with our friendly customer service team today.