USA
USA FR
FR


Digital Print Movement Tolerances
Ahh digital print movement – the enemy of printers and designers everywhere.
Having printed for over 15 years, we sure know a thing or two about pesky print movement. Slight movements in each stage of production are bound to happen and cannot be prevented. Whether it’s the paper sliding inside the printer or the guillotine budging over when cutting, movement happens everywhere.
Now, we can’t stop digital print movement. It’s just a fact of the printing process. But what we can do is prepare artwork to reduce the appearance of these little movements in the final print. Helping you to get the perfect prints is our top priority at Aura Print, so it only makes sense for us to guide you through the ways your artwork can be adjusted to avoid the worst of digital print movement. Let’s begin.
Why Does Print Movement Happen And Where?
Before we begin to adjust your artwork, it’s important to know when print movement is the most likely to happen. Print movement is most likely to happen within these four stages of the production process:
1. Inside The Printer
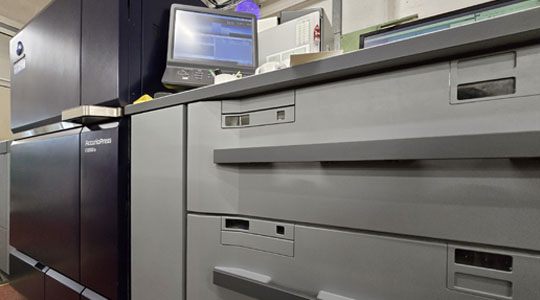
When paper is loaded into the printer, it has a little wiggle room to move around. This leads to paper passing through the printer in a different position each time.
For single sided prints, this won’t cause any problems down the line. But for double sided prints, this can sometimes lead to the front and the back not being perfectly aligned.
2. Inside The Guillotine
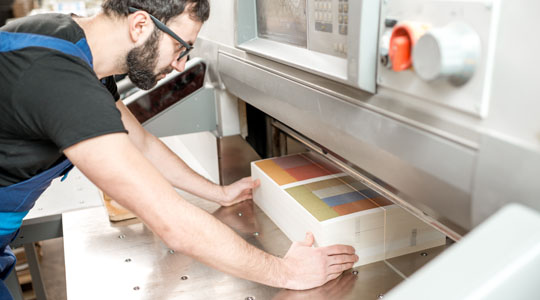
The next most common place for print movement to happen is inside the guillotine. Sometimes when paper is being cut, the blade of the guillotine does not land perfectly to the edge. This can lead to the final print being cut a little off centre to the design.
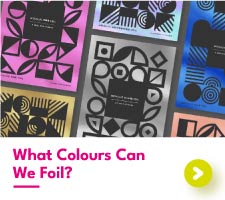
3. With The Foiling Process
Thinking about printing with foil? Well, it’s important to know that foil also has its own special movement tolerance. In the foiling process, paper must pass through the foil machine twice – once to apply the sticky toner and then to apply the foil. This double pass gives the paper more opportunity to move from its position in the print to its position in the first pass.
4. With Duplexed Papers

Our duplexed papers (700gsm / 540gsm / 800gsm etc) have the highest potential for print movement tolerance. Not only does this paper type have to combat movement in the printer and in the guillotine, but it also has to combat gluing movement.
Duplexed papers are created by gluing two sheets of printed paper together. First, the front and the back of your designs are printed onto separate sheets and then these sheets are glued together to make the final print. This alignment of the gluing is done by hand and so is incredibly difficult to get bang on every single time.
Digital Print Movement Common Causes

Paper Movement
Paper moving inside the printer affects where the print will land

Cut Movement
Paper moving inside the guilotine affects the final cut position

Foil Movement
Paper moving inside the foil machine affects the foil position
How To Adjust Your Artwork To Combat The Appearance Of Print Movement
Adding Bleed
The number one best way to combat the effects of print movement is to add bleed to the edges of your artwork. Adding bleed involves supplying an artwork file slightly bigger than the size you would be liking your cut print to be. This extra space will be used as a safety net, for if the guillotine cut was to be out, you wouldn’t be left with a white line running along the edge of your final cut prints.
At Aura Print, we require 2mm bleed on your artwork files.
Using A Safe Zone
Next, you should consider working within a safe margin when making your designs. A safe margin prevents parts of your designs from falling too close to the edges. Keeping important elements (like text and borders) away from the edges reduces the risk of those elements being cut off.
We recommend using a 3mm safety margin for most of our print products.
For duplexed papers, we recommend a 4mm safety margin and for playing cards we recommend a 5mm safety margin.
Adjusting Borders
As borders are typically designed to be in the centre of a design, any print movement with a border design will be incredibly obvious. The space on each side of the border and the cut edge will no longer be equal, and depending on how close the border is to the edge, may look uneven.
We understand that removing the border from your artwork might not be possible. It is, after all, part of your design. Instead, we recommend adjusting the appearance of your border to reduce the appearance of any print movement.
Borders within the artwork should be moved inwards to be at least 4mm away from each edge. If you use the safe margin, this will show you the minimum distance your border should be from the final cut.
Borders on the edge of the artwork should be thickened up to be at least 3mm wide. A wider border provides more space and less chance to be trimmed off completely.

Still unsure?
We all print different designs that will each require different adjustments to combat print movements. If you are ever unsure or are looking for bespoke advice, give our team a call and we can talk you through everything you’ll need to know.