USA
USA FR
FR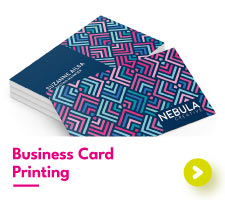


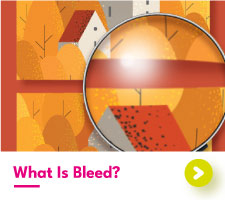


Printing: What Is Bleed?
From Bleed Definition to Full Bleed: Why Does it Matter?
When designing materials for professional printing, understanding the bleed meaning is crucial to achieving polished, high-quality results. Bleed refers to the portion of a design that extends beyond the intended finished size of a document, ensuring that colours, patterns, images, or text reach the edge of the printed material without any unwanted trimming. Without bleed, these shifts can result in white edges or gaps that distract from the professional appearance of your materials, even cutting off crucial design elements or taking borders off-center.
But what does bleed mean in printing and what is print bleed exactly? in essence, bleed printing allows your design to maintain a seamless look by accommodating for the slight movement that inevitably occurs during printing and cutting. A printer will typically print your design on a larger sheet of paper and then trim it to the required finished size, with the bleed definition printing guidelines ensuring that this process leaves behind no unprinted margins.
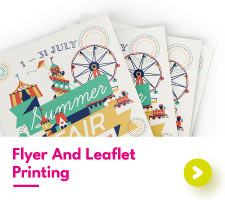
For example, if you’re creating an A4 (210 x 297mm) custom-printed flyer with a background colour that should extend right to the edge of your print, you’ll need to set the background to stretch beyond the trim line – into the full bleed area – by a minimum of 2mm. This extra margin ensures that, even if there’s slight misalignment during trimming, the edges will remain fully covered, resulting in a flyer margin ideal result.
Ready to become a real pro when it comes to adding full bleed, knowing how to reduce print bleed in PDF, and mastering the conversion of bleed in pixels? Staying within the lines has never been easier – let’s uncover the true artwork with bleed meaning together!
How Print Bleed Works: Bleed Meaning Unpacked
To fully understand the bleed definition and what is bleed in printing, it’s important to visualize your print layout. When preparing your designs for print, adding crop and bleed marks ensures precision during the trimming process. Bleed and crop marks work together to guide printers on where to cut the document while ensuring your artwork extends seamlessly to the edges.
Crop marks and bleed serve distinct purposes: crop marks indicate the exact dimensions of the final cut, while the printing bleed marks show where the design extends beyond the trim line. Including these marks prevents unprinted edges and ensures a polished, professional finish. Always verify that your export settings include both crop and bleed marks for flawless print.
The layout of your print should consist of three main areas:
Trim Line (Finished Size)

This is where the document will be cut to its final size. For instance, an A4 custom art print will be trimmed precisely along these lines.
Bleed Area

The area beyond the trim line where your design should extend. It’s typically 2-5mm in Europe, ensuring a seamless edge once printed.
Safe Zone

The inner margin, usually at least 3mm from the trim line, which all important elements like text or logos should sit within to ensure they aren’t cut off.

This layout ensures a clean, professional result with almost every print job. The bleed lines for printing act as visual markers, guiding designers to extend their artwork appropriately while keeping essential content well within your printers recommended safe zone.
Regional Standards for Bleed Printing
While most printers adhere to a standard bleed size of 2-3mm, regional variations and unique printing needs can effect this measurement. For example, here in the UK and Europe, the standard bleed typically ranges between 2-5mm, depending on the size of your print and each printer’s specific requirements. In Australia, the standard is usually 5mm. Certain materials, like die-cut projects (e.g. custom die-cut business cards), may require larger bleeds – up to 6mm – to account for additional variability during the cutting process.
For digital designs with bleed in pixels, bleed is often measured in px instead of inches or millimeters. To calculate bleed in pixels, multiply the required bleed size by the resolution. For example, a standard 300 DPI file with 3mm bleed requires 36 pixels on each side.
The key takeaway is to always check how much bleed for print is needed with your printer. Many print professionals, ourselves included, provide templates with pre-set bleed dimensions, making it easier than ever to create a compliant design that doesn’t risk being bounced by your go-to printers pre-press team.
Why is Bleed Important for Professional Printing and How Much is Required?
At its core, bleed serves as a safeguard against imperfections, which is the last thing you want! While digital designs are precise, the printing and cutting process involves physical materials and machinery that can introduce slight variations. Without bleed, these inconsistencies can result in white borders or uneven edges, which ultimately compromises the visual appeal of your printed materials, whether that’s professional personalised business cards or custom-made brochures for your next big conference.
Bleed is especially important for designs that feature full page images or patterns, background colours that extend to the edge, and artwork with intricate borders or die-cut shapes. By extending your design beyond the trim line, you ensure that the final product looks seamless, professional, and free of unsightly errors, regardless of minor shifts during production.
Now, when it comes to the amount of bleed you need, we’d need to look at the size and type of project you’re hoping to undertake. Standard UK bleeds are typically 3mm on all sides, while learger projects, such as custom-printed posters or vinyl banners for construction sites, may require up to 5mm. Does finished size include bleed? No, it doesn’t. As discussed, the finished size refers to the document’s dimensions after trimming, excluding the bleed area.
For example, if the finished size for your company’s award certificates is A4 (210 X 297mm), the total document size with bleed will need to be 216 x 303mm. Similarly, a landscape business card with a finished size of 85 x 55mm will require a design that extends to 91 x 61mm to accommodate the bleed.
Software Guide: How to Add Bleed to Your Design
Creating print-ready designs with bleed is simple if you use professional graphic design tools. Here’s a step-by-step guide to adding full bleed to your print in some of the most popular design software programs:

How to Set Bleed in Photoshop
To set bleed in Adobe Photoshop, begin by creating a new document with dimensions that include the bleed. For example, for a 127 x 178mm silk finish flyer with a 3mm bleed, set the canvas size to 133 x 184mm. Extend your background or artwork to the edges of the canvas, ensuring it fully covers the bleed area.

How to Set Bleed in Adobe Illustrator
In Illustrator, the regular bleed size for exporting process begins during the document setup process. Specify the bleed dimensions in the “New Document” window under the “Bleed” section. Once you’re ready to save your file, ensure the “Use Artboards” and “Include Bleed” options are selected in the export settings.

How to Add Bleed to PDF
If you need to add bleed to a PDF, you can use software like Adobe Acrobat Pro or Illustrator to add bleed. Open the file and adjust the artboard or canvas size to include the necessary bleed dimensions before exporting the file with the updated settings.
Need to know how to reduce print bleed in PDF files? If you’ve already designed your file but forgot to include bleed, don’t panic. You can reduce or adjust the bleed directly in your PDF by using Adobe Acrobat or Illustrator.
Here’s how:
Using Adobe Illustrator:
Open your file and go to File > Document Setup
Add or adjust the bleed size in the “Bleed” fields. This is especially helpful when you’re adding specific bleed to an existing Adobe Illustrator file.
Using Adobe Acrobat:
Open your PDF, crop the file to remove unnecessary bleed or adjust trim marks as needed.
While it’s possible to correct bleed in a PDF, designing with the correct settings from the start is always the best approach.

How to Add Bleed in InDesign
Adding a bleed for InDesign projects ensures your designs print seamlessly to the edge. Here’s how to set up bleed for printing InDesign for new and existing documents.
When setting up bleed in a new document, you will need to start by creating a new document (File > New > Document) before entering your bleed dimensions.
Under the Print tab, locate Bleed and Slug, and set the standard 2mm bleed. Click the chain icon to adjust individual sides if needed before confirming your settings by clicking “Create”.
To add bleed to an existing document, open the document setup (File > Document Setup) before entering your desired bleed in the Bleed and Slug section and hitting “OK” to apply the bleed.
When exporting with full bleed in InDesign, first you’ll need to save your work as a PDF by going to File > Adobe PDF Presents, selecting a print preset. In the export dialog, under “Marks and Bleeds”, you’ll then need to check “Use Document and Bleed Settings” before verifying the PDF to ensue crop marks and bleed lines have been included.
Tips for Full Bleed Designs
For full bleed Indesign, extend design elements, like background or images, to the red bleed line. Use Normal View Mode (Menu Bar > View > Screen Mode > Normal) to ensure proper alignment. Confirm specific bleed dimensions with your printer, as some projects may need larger than the standard amount of bleed.
By mastering Indesign full bleed, you’ll ensure polshed, print-ready designs.
The Importance of Safe Zones
While bleed ensures that the edges of your design remain seamless, the safe zone protects critical elements from being cut off. Important content – such as text, logos, or focal points – should be placed well inside the trim line.
For instance, in a typical margin for waterproof Nevertear flyers, the safe zone guarantees that no text or essential design elements are accidentally trimmed, even if minor misalignments occur. Combining a proper bleed with a safe zone results in a balanced, professional print job.
Common Mistakes in Bleed Printing
Despite its importance, many designers make avoidable mistakes when working with bleed. Some of the most common errors include:
1. Forgetting to Include Bleed - This can result in white edges or uneven margins
2. Placing Content in the Bleed Area - Critical text or images in the bleed zone risk being cut off during trimming
3. Incorrect Bleed Size - Using the wrong bleed dimensions can lead to compatibility issues with the printer
4. Overlooking Printer Specifications - Each print company may have unique bleed requirements, so failing to check these details can cause problems.
Avoid these issues by double-checking your design layout and confirming the bleed specifications with your printer.
What is Bleed in Printing and How Does it Work for Different Projects
A5 Flyers and Custom-Size Art Prints: A flyer typically requires a bleed of 2-3mm and a safe zone of 3-6mm. This ensures the background extends to the edge while keeping text and key visuals intact.
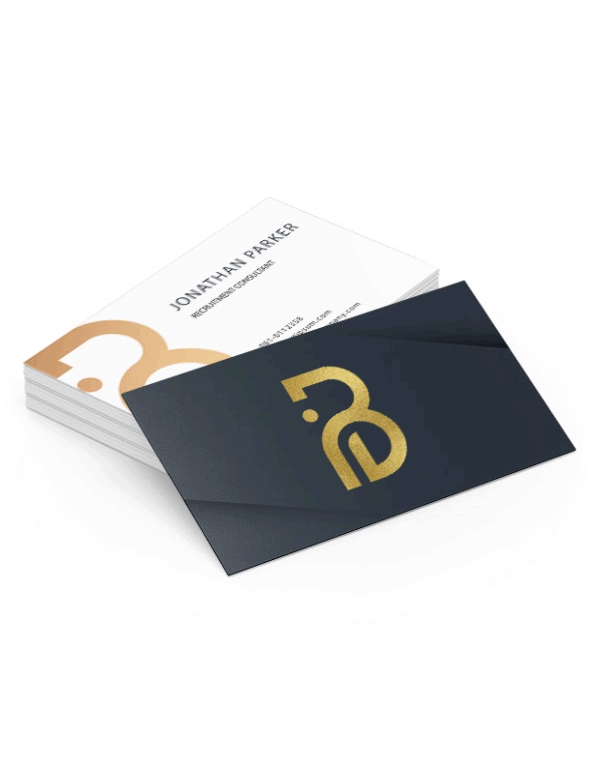
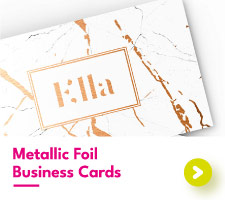
Business Cards: Due to their small size, business cards, particularly mini business cards, demand precise bleed and safe zone settings. Extend your background into the bleed area and place text well within the safe zone to prevent cropping errors.
Banners and Posters: Larger formats often require a bleed of up to 12mm to account for greater variability during trimming. For instance, a poster with a finished size of 457 x 610mm would require a design that extends

Bleed vs. No Bleed: When to Use Each
Choosing between bleed vs no bleed depends on the type of projects and the desired aesthetic.
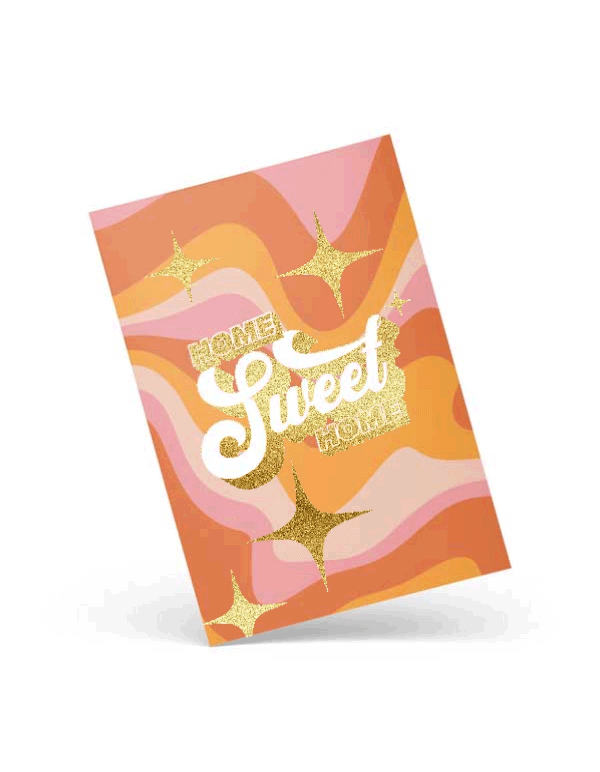
Bleed Printing: Best for materials that require full coverage, such as brochures, posters, or personalised postcard printing. Designs extend beyond the trim line, creating a seamless edge-to-edge effect.
No Bleed Printing: Ideal for formal documents, custom certificates, or designs that intentionally feature a white border. All content stays within the trim line, leaving visible margins.
Understanding the difference helps you select the most appropriate option for your project’s needs.
Now We Know What is Edge Bleed, What Else Did We Learn?
Mastering the concept of bleed is essential for producing professional, error-free printed materials. From understanding the bleed definition printing to learning how to set up bleed lines in InDesign or Photoshop, these skills ensure your designs look premium and polished.
By incorporating proper bleed dimensions, respecting safe zones, and tailoring your designs to printer specifications, you can avoid common pitfalls and deliver results that stand out. Whether you’re creating a magical custom bookmark, colour core business card, or custom roller banner, taking the time to understand what are bleeds in printing and implementing them correctly is the key to achieving flawless final products.