UK
UK FR
FR


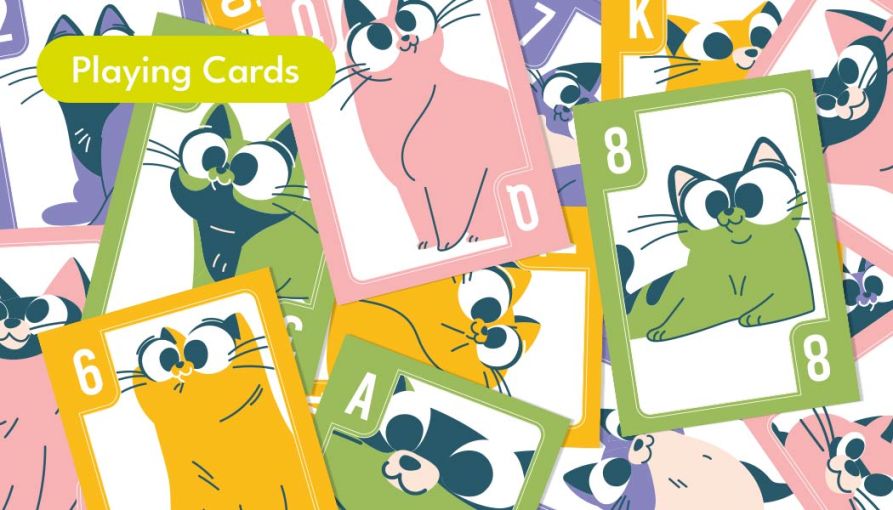
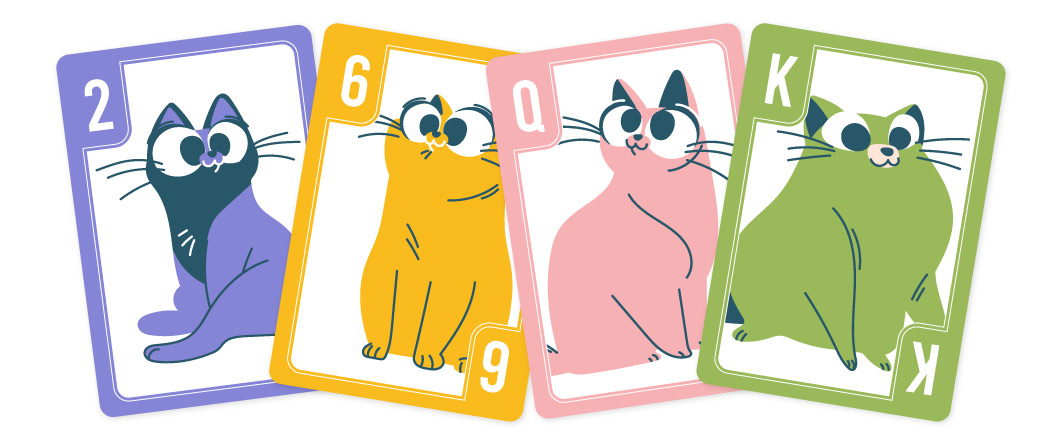
Design Your Own Playing Cards In 7 Easy Steps
Taking on a playing card design project is no small task. With 54 – or more – unique playing card designs to create, it can sometimes feel like a lot of work is ahead. And that’s not even mentioning the playing card box and additional instruction guides you’ll need to make.
To help you along with your playing card designs, we’ve created this easy to follow 7 step guide. From generating your card ideas to getting your artwork print-ready, we’ve got everything covered. Plus, we’re going to share with you some of our industry tips and tricks for you to use, saving you time and energy when it comes to design your own playing cards.
Without any further delay, let’s begin.
Step One: Know Your Card Number
The first thing you need to know when you make your own playing cards may seem awfully obvious. But you’ll be surprised at the number of people who decide to make custom playing cards without knowing the number of cards they want to create.
Knowing the number of cards in your deck is crucial. Without it, you’re going to find yourself running out of ideas for cards part way into your project. The last thing you want is for your cards to decrease in quality as your deck progresses, as you didn’t think of enough designs to fill the gaps.
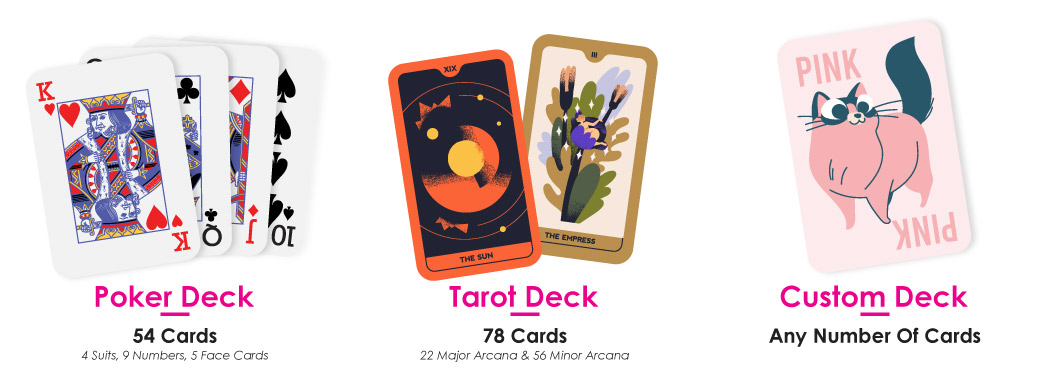
Traditional poker cards consist of 54 cards. If you’re looking to mimic one of these decks, then knowing your card number is easy. However, if you want to step outside the box and make custom playing cards at another quantity, then it’s important to know exactly how many playing card designs you need.
After deciding on the number of playing cards you would like in a deck, the next thing to do is create a numbered list, matching your deck. This list will be used when you start to generate your ideas, which brings us to Step Two.
| Top Tip: Don’t forget to include the back of your card in your list of designs to make. |
Step Two: Develop Your Ideas
By clicking on this post, you’ve probably already got some sort of design idea in mind for your deck. Whether that’s to turn your art into trading cards or to make a novelty deck to hand out at your wedding, now is the time to turn those base ideas into a fully-fledged deck.
Using your list from Step One, start filling in each number with a playing card idea. As you work down your list, you’ll begin to see your deck form and see where any gaps in ideas may be. A numbered list is perfect for planning out your playing card designs as it helps you to see which designs will appear next to each other in the deck, which designs will be the face cards, and which designs will appear in each suit.
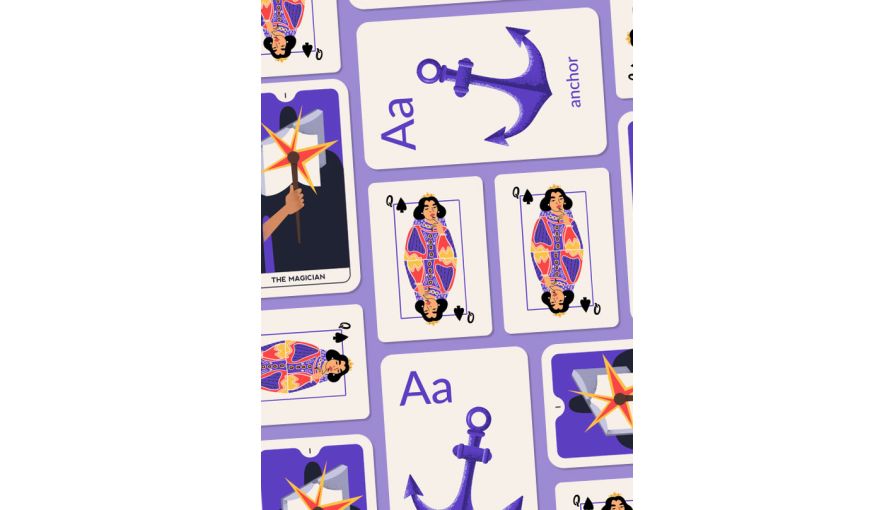
For those planning on following the poker deck format, your list will include 4 suits (Clubs, Spades, Diamonds, and Hearts) as well as 5 face cards (Jack, Queen, King, Ace, and Joker). Suits and face cards tend to have a distinctive appearance in a deck, so make sure to pick ideas for these cards that stand out from the rest.
Anyone not following the traditional format should still keep in mind the order and flow of your deck. Do some cards have more power/authority over others? The hierarchy of your deck should be a huge influence on the order your designs appear, which takes us to Step Three.
| Top Tip: Are you running out of ideas before you've completed your list? Create a mind map with your theme and think of all the related words and sub-themes. This should help you to find some undiscovered playing card ideas to use in your deck. |
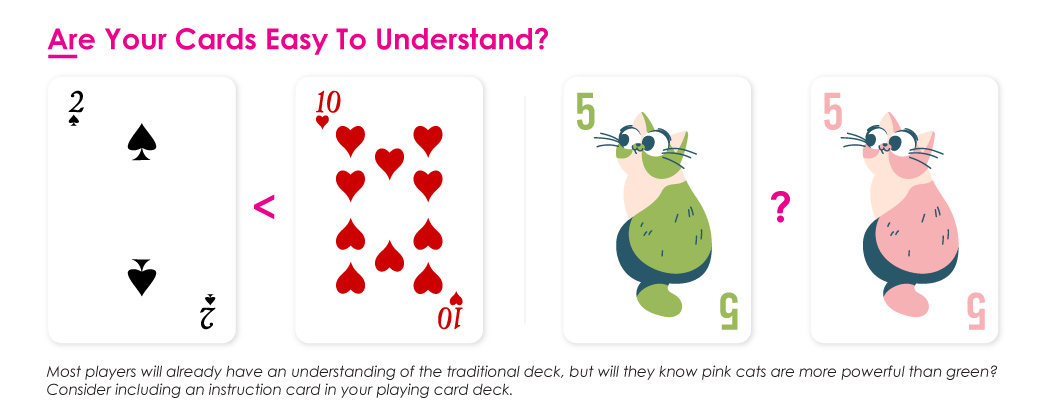
Step Three: The Hierarchy
In standard playing card decks, each card in a pack has its own place in the hierarchy. The 2 of Clubs, for example, is a lower ranking card compared to the King of Hearts, and so on and so forth. It’s important for players to understand how your cards interact with each other. Otherwise, they will struggle to play your game.
If you’re sticking with the poker deck format, then you won’t have to worry too much about this step. After all, most players will already be familiar with how poker cards relate to each other.
But, if you want to make your own new suits and face cards, it should be obvious to players what each card represents. Which cards hold more power than others? Which cards can be used together to form a group or sequence? And which suit holds the most authority?
| Top Tip: Include an extra card when you make custom playing cards that explains the rules of your game. Not only will this card easily fit in your playing card box, but it also will clear up any confusion players may have with your game. |
Another thing to consider is how your cards will look fanned in a player's hand. In traditional decks, cards can be identified by their color (red or black) or by their suit. Your chosen colors and suits massively impact the playability of your game. If it’s hard to tell your cards apart, there’s going to be some frustration around the gaming table. This leads us straight to Step Four.
Step Four: Plan Your Playing Card Design Layout
So, you know the number of cards you want to make, the order they appear, and their power in the deck. Now it’s time to start to plan out your playing card designs.
Before going crazy and diving right in with your fancy paints and brushes, we recommend making some rough sketches for each of your cards. You don’t need to be an artist here. Simple shapes showing the positioning of your elements are more than enough to help you see how your cards will look. Create some variations of each card and decide which you like best.
Here are some questions to ask yourself to help plan your layout:
· Will my design fill the entire playing card or will I have a border?
· Will the numbers and suits be in the traditional corner location?
· Will the design make reference to the number card it is on?
· Will my cards be understood upside-down like traditional playing cards?
| Top Tip: Remember your cards will be fanned and should be recognizable from the corner alone. |
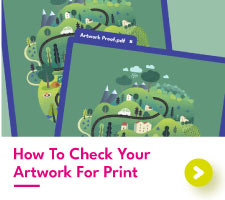
Step Five: Get Your Playing Cards Print-Ready
I know what you’re thinking. How can I get my artwork print-ready if I’ve not made it yet?
Print-ready artwork is something you should be thinking about before making your designs, not after. Why? Because having to alter 54 individual designs for print is incredibly time-consuming and isn’t exactly fun.
All printers will have their own guidelines for print-ready artwork. Here are our recommendations:
| Required Bleed | Safety Margin | Resolution | Colour Mode |
| 2mm | 5mm (Recommended) | 300dpi | CMYK Colours |
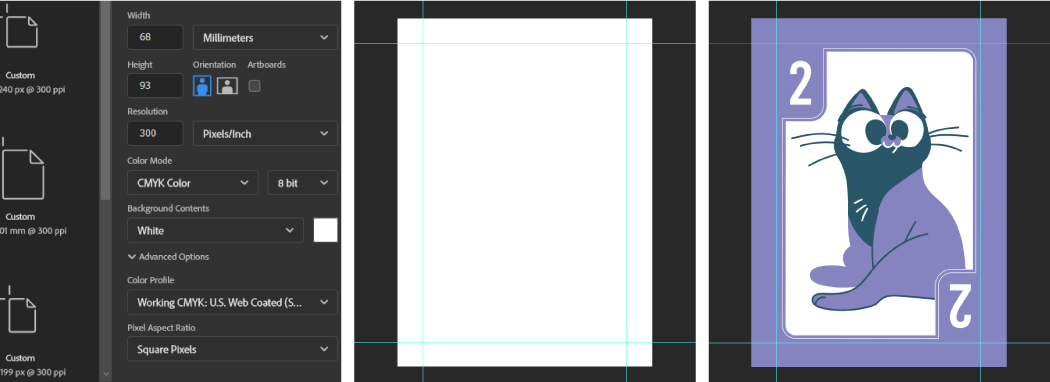
How To Make Your Own Playing Cards In Photoshop
1. Enter the card size you want to use, then add 4mm to the width and the height to create a 2mm bleed area.
2. Ensure that the resolution is set to 300dpi.
3. Select CMYK as the color mode.
4. Create your canvas.
5. Create a guide and position it 7mm away from the left edge. Then do this for the right, top, and bottom. This creates a safety margin to be used for print.
How To Design Your Own Playing Cards In Canva
1. Enter the card height and width, then add 4mm to each to make a 2mm bleed area.
2. Ensure that the resolution is set to 300dpi.
3. Select CMYK as the color mode.
4. Create your canvas.
5. Go to File > View Settings > Show Rulers and Guides.
6. Create a guide and place it 7mm away from the left edge. Then repeat for the right, top, and bottom edges. This creates a safety margin to be used for print.
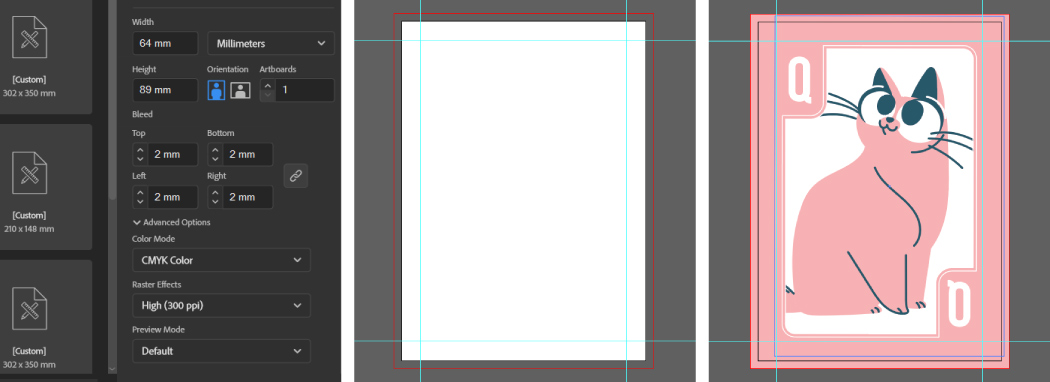
How To Make Your Own Playing Cards In Illustrator And InDesign
1. Enter the card size you want to use.
2. Enter 2mm into the bleed box.
3. Ensure that the resolution is set to 300dpi.
4. Select CMYK as the color mode.
5. Create your canvas.
6. Create a guide and position it 5mm away from the left edge. Then do this for the right, top, and bottom. This creates a safety margin to be used for print.
| Top Tip: Don’t forget the rounded corners! Make sure nothing is too close to the corners or it may be trimmed off. |
Want some help with getting your playing cards print-ready? Our playing card design template is free to download and can be found here. Or, for custom sized cards, send our team a quick email with your desired size, and we will create a playing card design template just for you.
Step Six: Design!
After spending so much time planning out your deck of playing cards, now comes the fun part. Making your designs!
Start off by creating a base template. The base template includes your number and suit position, any borders, and other elements that will appear on each of your cards. This template will be used on all your card fronts so make sure to spend some time getting it right.
Then, move on to creating your cards. Begin with bringing some life to an idea that you’re confident in. This doesn’t have to be the first card in the deck. If you want to start with the 6 of Spades, who am I to stop you? Make sure to keep viewing your designs side by side so you can be sure that everything looks like it’s part of the same playing card deck.
| Top Tip: Starting with a design you are excited to make will provide you with an extra boost of motivation to complete the rest of your deck. |
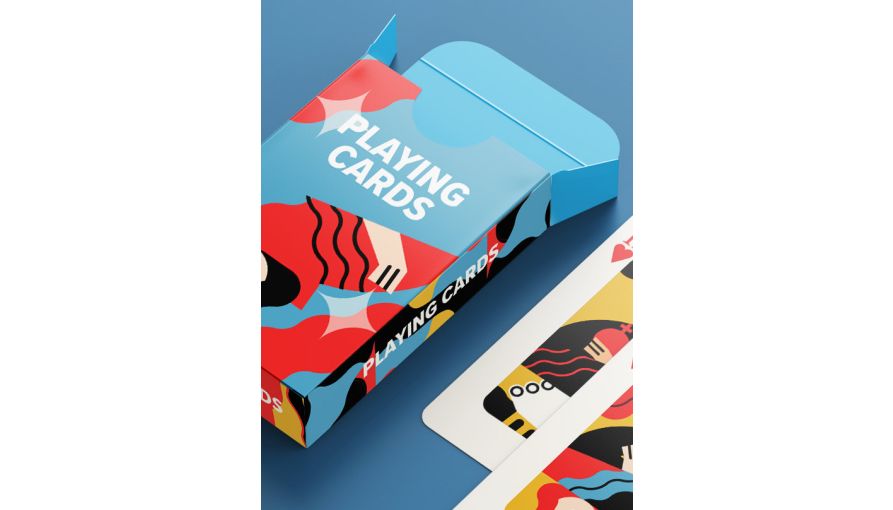
When you’ve completed all your card fronts, the last thing you need to do is check out the back. In most card games, the other players should not know which cards you have in your hand. We therefore recommend using only one back design.
Step Seven: Edit And Review
With your designs created, your playing card design project is almost finished. The last step is to review your designs before you print playing cards.
Whether you inspect every card yourself or ask friends and family to review your designs, it’s incredibly important to have a last glance over your cards. When you’ve been staring at the same designs for a long time, chances are there is something glaringly obvious that you may have missed or have included that shouldn’t be there.
Double check that all your cards are easy to tell apart. Players shouldn’t have to spend time deciphering your playing card designs. If any cards do look similar, think about changing the layout or the colors to help them to stand apart from each other.
Custom Printed Playing Cards By Aura Print
After reading this step-by-step guide, you should be confident to make your own playing cards. Want to learn more about our different playing card printing options? Head on over to our foil playing card printing page to explore premium playing card embellishments, read our guide to playing card dimensions, or learn more about setting up your playing cards for foil printing with our helpful guide.
Keen to learn more about Aura Print? Why not have a click around our site while you're here? With everything from custom business cards to personalised greeting cards and perfectly branded flyers and leaflets, we've got all your printing needs covered.