USA
USA FR
FR


How To Design Your Own Bookmark In 5 Steps
Creating a custom bookmark design is a fun project to take on. Whether you want to sell your hand-crafted bookmarks online or just want something unique to pair with your latest read, knowing how to make paper bookmarks is the way to go. There’s no better way to add that special connection to your favourite books than with your own creations!
To answer all your bookmark design questions, we’ve compiled our great bookmark knowledge into 5 simple steps. From picking the perfect paper to getting your theme on point, we’re going to cover it all in one place. So, sit back and cosy up with our complete bookmark design guide.
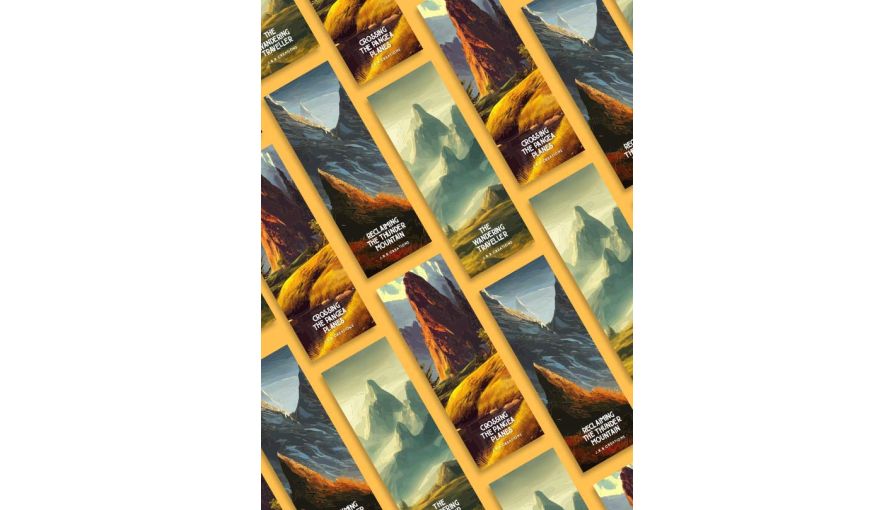
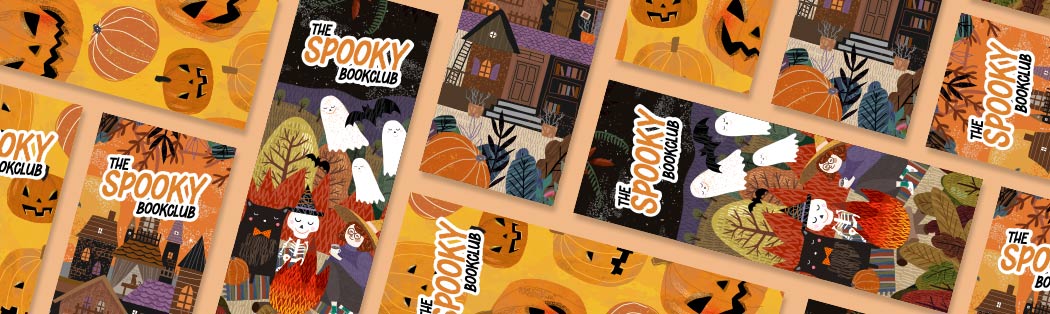
Step One: Choose Your Bookmark Designs Theme
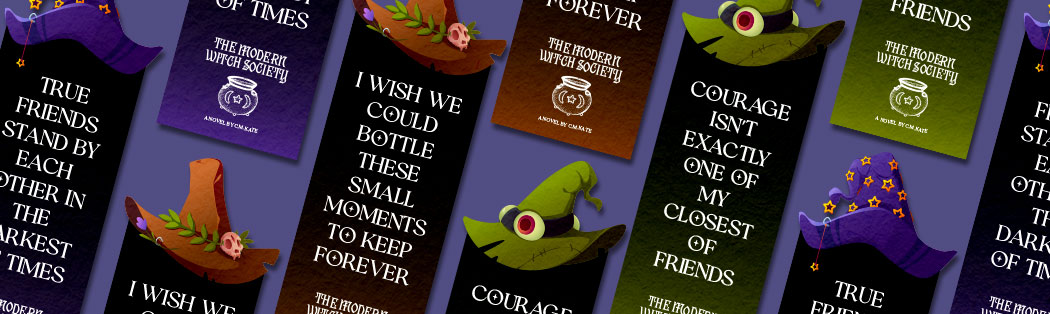
The first step to design your own bookmark is to pick out your theme. By clicking on this post, no doubt you’ve already got a theme, or some inspiration for a theme, in mind. Now is the time to really focus on what your bookmarks are going to look like.
As this is the planning stage, there’s no reason to go crazy with the details. Instead, think about the layout, the colours, and the book quotes you’d like to use. Come up with multiple ideas – sometimes your second and third concepts are much better than the first. Jot your ideas down, sketch them out, and do whatever feels good to you to plan out your bookmark designs.
Once you’ve landed on a bookmark design that works for you, it’s time to move on to making your bookmarks a reality.
Step Two: Pick Your Bookmark Design Size
Before cracking on with your designs, you’ll first need to pick out your bookmark size. Knowing your bookmark dimensions will help you to see how much space you have to splash your bookmark designs across. Plus, it’ll save you some time when it comes to getting your bookmarks printed.
To make your decision that much easier, we’ve got a selection of pre-set bookmark sizes for you to choose from. Our 52mm x 210mm is ideal for taller hardbacks, whereas our smaller 52mm x 148mm is just right for well-loved paperbacks. Check out our free-to-download bookmark design templates for all our standard sizes.
| Standard Small Bookmark Dimensions | ||
|---|---|---|
| Size Of Bookmark In MM | Size Of Bookmark In CM | Size Of Bookmark In Inches |
| 52mm x 148mm | 5.2cm x 14.8cm | 2.5in x 5.8in |
| Standard Large Bookmark Dimensions | ||
|---|---|---|
| Size Of Bookmark In MM | Size Of Bookmark In CM | Size Of Bookmark In Inches |
| 52mm x 210 | 5.2cm x 21cm | 2.5in x 8.3in |
Of course, there’s no reason why you must go with a standard size. What’s great about making designs for a bookmark is that you’re in control of the overall size (and shape) of your bookmarks. Why not trial a custom-sized page saver or even an out-of-this-world die-cut bookmark?
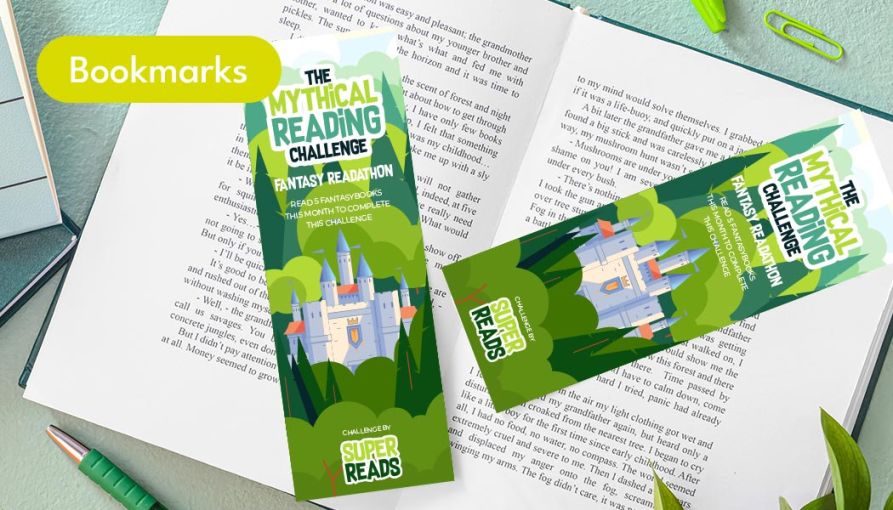
Step Three: Design Bookmarks For Book Lovers
It’s the moment you’ve been waiting for! With your theme planned out and your size chosen, it’s now time to start to create bookmarks. From personalised school bookmarks to digital anime characters, getting your initial ideas onto your bookmarks is a wonderful process.
As all bookmark designs are different, we can’t tell you how to make every single type of design. Instead, we can offer our tips for using Photoshop, Illustrator, or Canva to create bookmarks.
How To Design A Bookmark In Photoshop
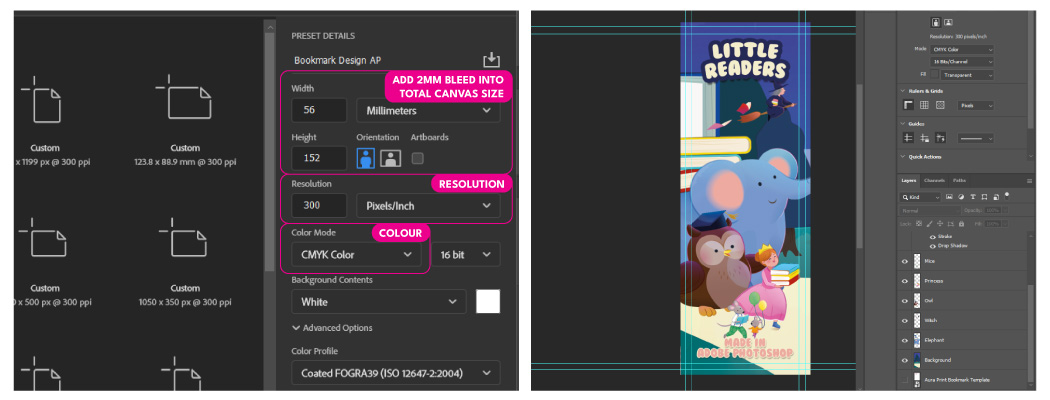
- 1. Open Photoshop and input your canvas size. Don’t forget to add bleed, change the colour setting to CMYK, and make sure the resolution is 300dpi.
- 2. Drag and drop our bookmark design template onto your canvas to provide a handy guide.
- 3. Get to work drawing out your designs. Don’t be afraid to use multiple layers – there’s nothing worse than needing to edit part of your work only to find it is merged with the rest of the design!
- 4. Add your book quotes, artist signature, and any other final touches.
- 5. Play around with colour. Whether that’s with the hue and saturation adjustment or a simple brush tool, try some different colour variations until you land on the perfect combination.
- 6. Save your design as a Photoshop file, a TIFF, or a Photoshop PDF using file > save as and then pick your chosen file format from the drop-down menu.
How To Design A Bookmark In Illustrator
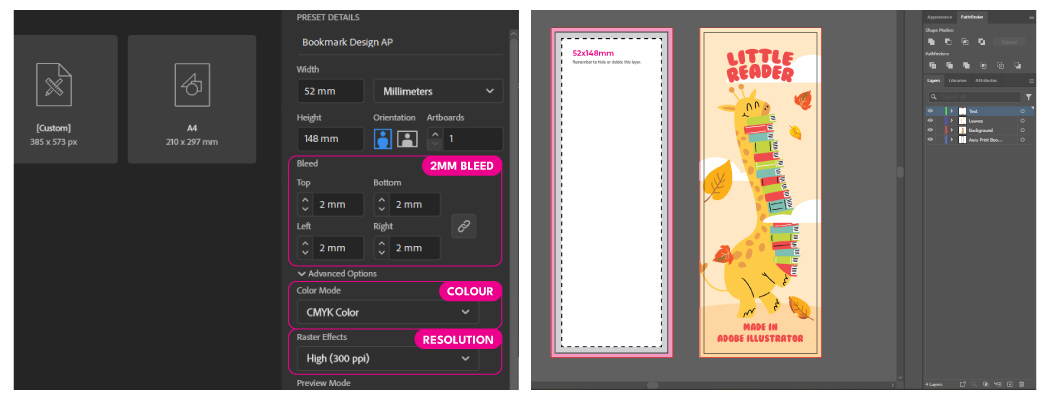
- 1. Open Illustrator and input your canvas size and bleed settings. Make sure your guides are visible using view > guides > show guides
- 2. Import our bookmark design template with file > place to provide a handy guide.
- 3. Time to draw out your designs. Using the shape tool and pathfinder options is a quick way to create the shapes you’re after.
- 4. Add your book quotes and other text areas. Using a separate layer here can help keep your artboard organised.
- 5. Save your design as an Illustrator file or PDF using file > save as and choose your file format.
How To Design A Bookmark In Canva
- 1. Open Canva and input your canvas size. Canva will allow you to add a bleed guide to your design area by choosing file > view settings > show print bleed.
- 2. Insert our bookmark design template to provide a handy guide.
- 3. Create your design using shapes, text, and colourful background choices.
- 4. Tweak your design until you’re happy with the final appearance.
- 5. Save your design as a PDF using share > download > PDF print
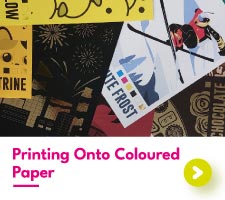
Step Four: Pick The Perfect Paper For Your Bookmark Designs
Design created, let’s start thinking about print. Picking out the right paper will do the world of wonders for your bookmark designs. With plenty to choose from, it can be hard to make that essential decision. As always, we’ve made it easy for you to pick out the most suitable paper stock for your designs with our paper picker below.
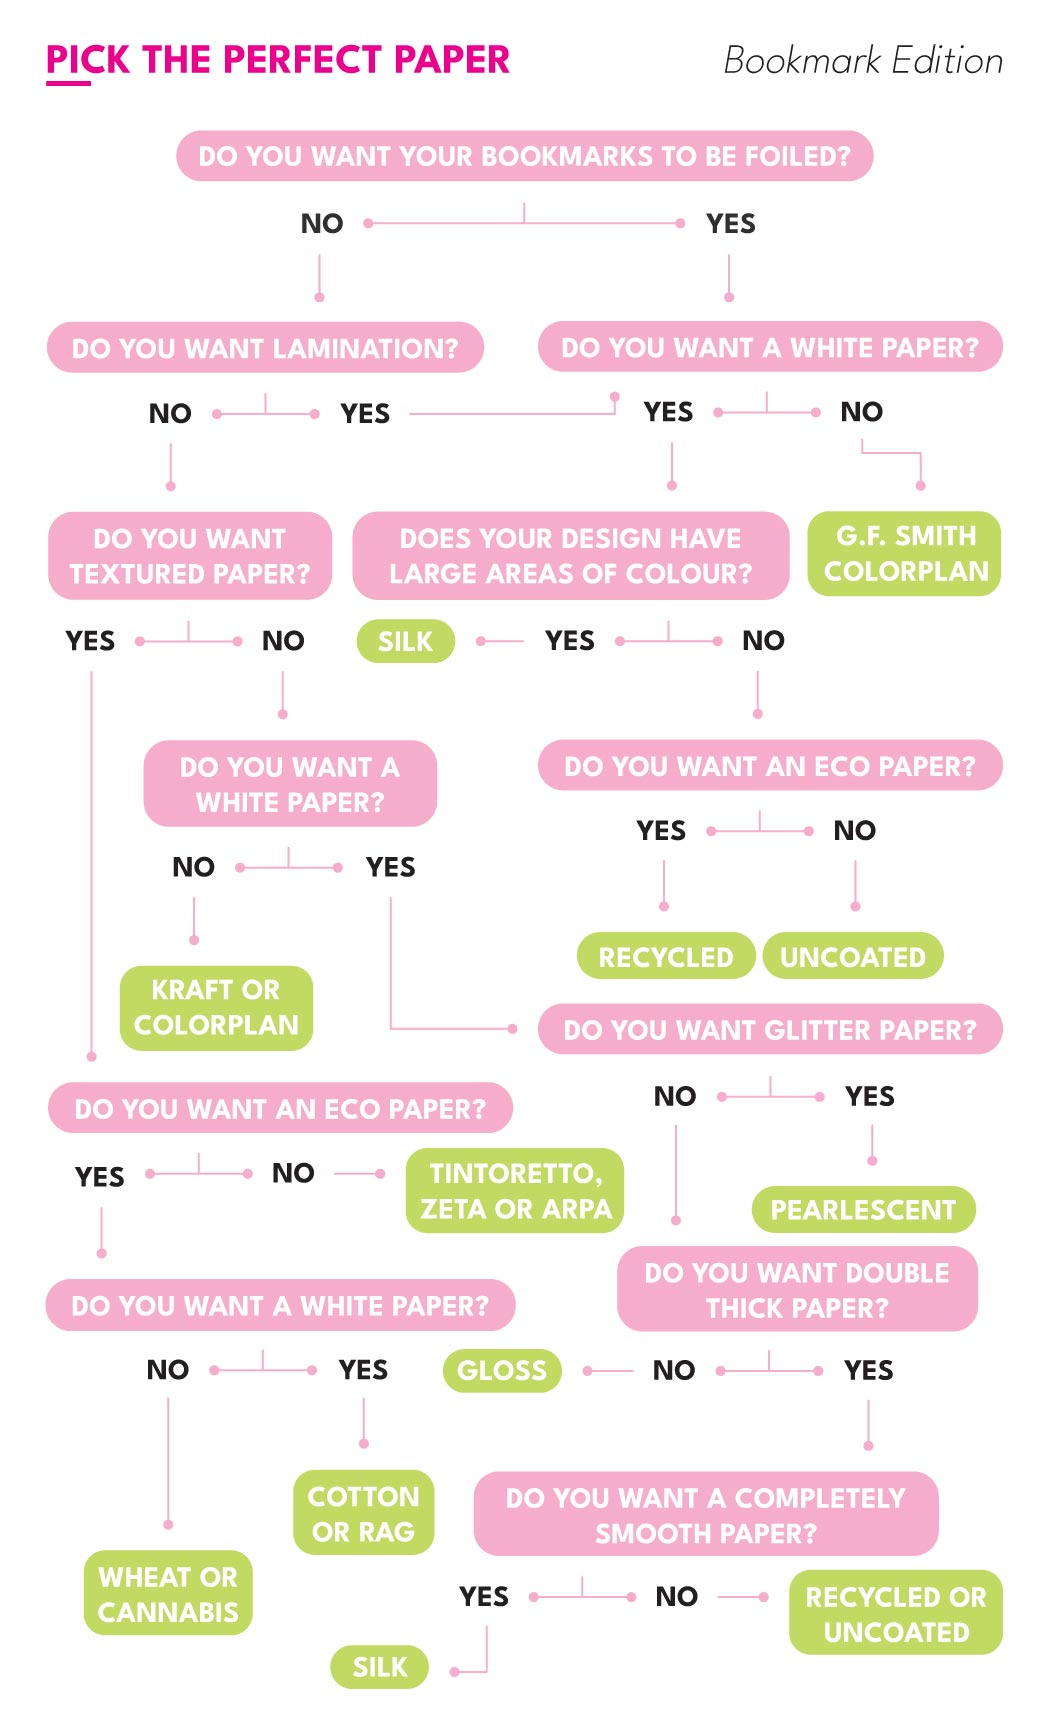
For a more personal recommendation request our paper sample pack.
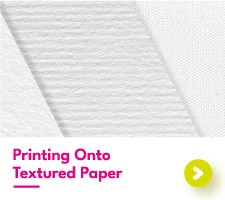
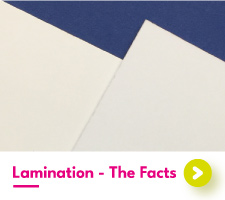
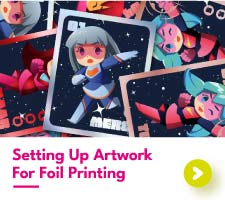
Next, we’re going to move on to special finishes. Do you want your bookmarks to be soft-touch laminated? How about foil-printed bookmarks? Or what about getting your bookmarks die-cut?
At Aura Print, we’ve got an incredible range of unique finishes that can be used to customise your bookmarks. Whether you want to provide your bookmarks with that little extra protection or want to design a bookmark that truly stands out on the shelves, special finishes will be right up your alley.
Step Five: Off To Print We Go!
You’ve designed your bookmarks. You’ve picked out the right paper. It’s finally time to get your designs printed!
With Aura Print, you can be assured that your bookmark designs will be in safe hands. With our team of experts, your designs will be hand-checked before even being printed.
Then, once your bookmark designs enter production, it takes as little as 2 working days to get your order printed, packed, and on its way to you in the post.
Want to see some inspiration for bookmark designs we’ve printed in the past? Head on over to our Instagram page which is packed full of amazing bookmark designs to help get your creative juices flowing.
Make Designs For A Bookmark With Aura Print’s Bookmark Designers
Thinking about designs for a bookmark but need a little help bringing them to life? Then let the Aura Print design team step in and give you a helping hand. We can work from your bookmark design brief to make a whole range of designs into reality.
Our friendly team is just one phone call away and can assist you through the entire design process. Why not request the expert services of your own dedicated bookmark designer with Aura Print today?